I got a new Macbook Pro and I’m about to set it up for work. As developers, we have all been there. Oftentimes, when we switch to new jobs. And, this is my quick step-by-step guide to setup a mac for development.
What have I got?
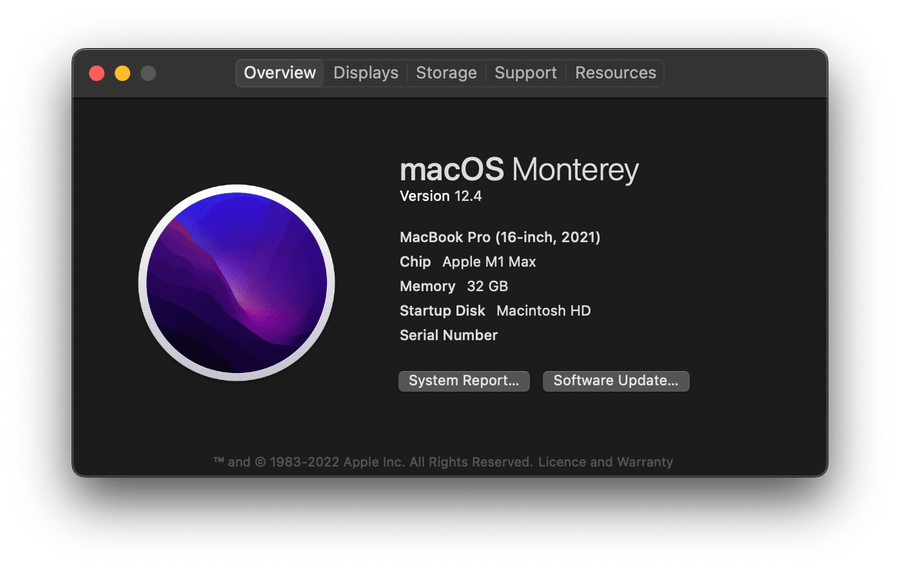
My employer acknowledged the productivity boost that all iOS developers are experiencing on their Apple Silicon Macs and decided to invest in developer productivity. So I got a brand new Macbook Pro with an Apple M1 Max chip. 🎉
Setup Mission Control
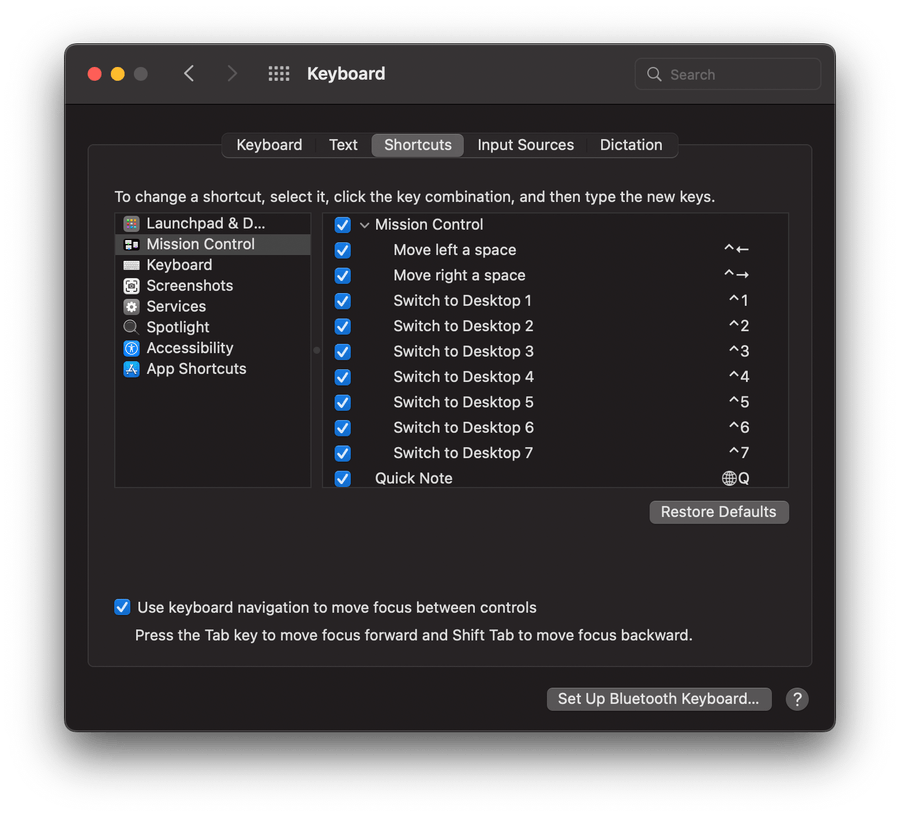
During WWDC’22, Apple announced its new Stage Manager feature on Macs, but long before that, I found managing or focusing on tasks and switching between apps/windows to be quite stressful. So, by utilising the existing features, namely Hot Corners and Virtual Desktops, I’ve grown quite accustomed to my setup.
That’s why, on every Mac I’ve used in the last decade, I’ve always started by configuring hot corners and a couple of virtual desktops with keyboard shortcuts.
Know your shell
To determine the POSIX-compliant shell (sh, dash, ksh, zsh, bash), type
echo $SHELLTo check your homefolder, open Terminal app and type
pwd
# or
echo $HOME
I’ve used Oh My Zsh in the past, but I’m going to save it for later this time.
Install Xcode
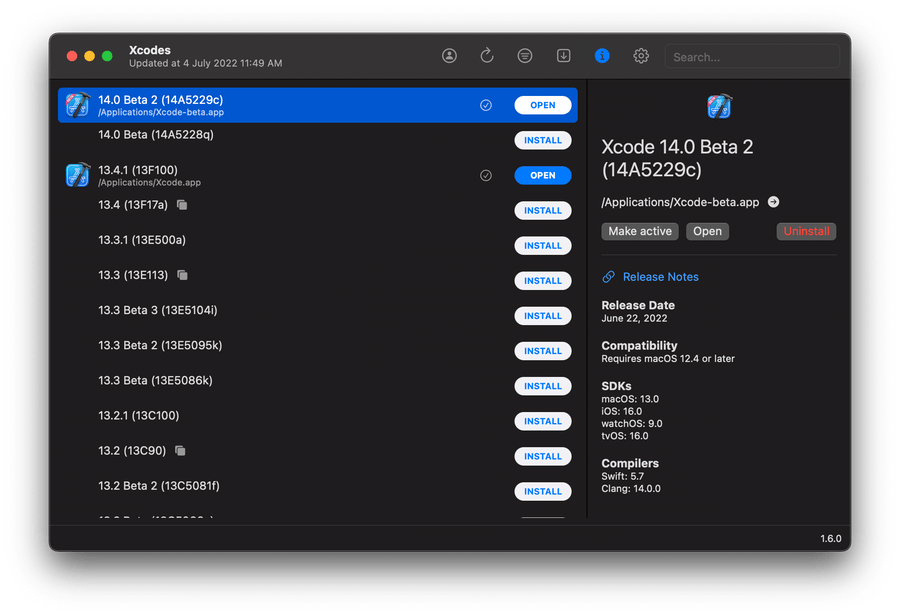
As an Apple developer, latest version of Xcode is pretty much everything I need. However, I will occasionally require beta builds or even older versions for a legacy codebase.
Xcode can be downloaded from Developer/Downloads or the Mac App Store. However, as the saying goes
“Friends don’t let friends download Xcode from the App Store.”
So, I will use the easiest way to install and switch between multiple versions of Xcode - Xcodes App.
Apply Xcode Theme
I’m going to install a few programming-focused fonts before applying my one and only preferred Xcode theme.
Dusk theme + Hermit Font = 💞
For my custom themes, I maintain an open-source repo. Let’s follow the instructions in the repo!
And, if you want to give it a shot, go ahead!
Communication
While Xcode is being installed, it’s time to setup team communication apps and configure email client.

Install Homebrew
I work on web projects on occasion, and prior to Swift Package Manager, Cocoapods was my go-to dependency manager for all of my projects. To manage these packages, I’ll be using Homebrew - The Missing Package Manager for macOS.
/bin/bash -c "$(curl -fsSL https://raw.githubusercontent.com/Homebrew/install/HEAD/install.sh)"Configure Git
Open terminal and input these (replace your name and email)
# configure git user details
git config --global user.name "John Doe"
git config --global user.email "john.doe@gmail.com"
A Mac has some annoying files that can be ignored by git. Let’s add them,
nano ~/.gitignoreThen add these (compare against the latest here)
# Mac
.DS_Store
.AppleDouble
.LSOverride

# Thumbnails
._*

# Files that might appear in the root of a volume
.DocumentRevisions-V100
.fseventsd
.Spotlight-V100
.TemporaryItems
.Trashes
.VolumeIcon.icns
.com.apple.timemachine.donotpresent

# Directories potentially created on remote AFP share
.AppleDB
.AppleDesktop
Network Trash Folder
Temporary Items
.apdisk

# Windows
Thumbs.db

# WebStorm
.idea/

# Node
npm-debug.log
After you are done, activate this globally by running
git config --global core.excludesfile ~/.gitignoreShow Hidden Files
I find it very useful to have all of the hidden files always visible. Apple may have hidden them to prevent users from fiddling with and corrupting the Mac itself, but having certain hidden configuration files and directories viewable in project environment is rather convenient for developers.
defaults write com.apple.Finder AppleShowAllFiles TRUE;killall FinderSetup SSH Keys
We will generate and configure Secure Shell Protocol (SSH) keys in order to establish a secure connection with development environments such as Github and Gitlab.
To achieve this, I prefer to use Github’s guide.
Install Dev Tools & more..
Up next, allow me to install a few of development tools that I use frequently and in almost every project.
This is by far the best code editor I’ve ever used. It does so many things the right way. I’m always impressed by the user experience.
An open platform for developing, shipping, and running applications.
A free (though it shouldn’t be) Git client for Mac that I’m very familiar with.
API lifecycle management tool that is widely used. Built with pride in 🇮🇳.
If I’m blogging anything, I use this seamless markdown editor.
Because of its simplicity, I mostly use Apple’s Notes app for task management. I like to keep a daily schedule, and the Slash app works best for me. I was able to replicate what worked with Notes in this app.
This is actually a better menu bar clock with calendar and time zones.
I have an Apple Music subscription, but Spotify’s music discovery is simply amazing.
Install Cocoapods
CocoaPods is a package manager for iOS development. It is built with Ruby and is installable with the default Ruby available on macOS.
# Using Homebrew
brew install cocoapods

# Alternatively using RubyGems
sudo gem install cocoapods
Install Fastlane
An easiest way to automate beta deployments and releases for your iOS and Android apps.
# Using Homebrew
brew install fastlane

# Alternatively using RubyGems
sudo gem install fastlane -NV
Install Node
Open Terminal and run following command
brew install node    # this will install latest
# or
nvm install node    # this will install latest
# or
nvm install 10.1    # this will install version 10.1
Or, download the latest Node.js version from the official Node.js website, double click on the downloaded file and go through the installation process.
To confirm that this worked, you can run npm --version and node --version.
Install Node Version Manager
Managing multiple active node.js versions is so effortless with nvm.
Follow the installation instructions from the Readme.
Install Figma
I’m an aspiring designer who is constantly learning, sketching, and prototyping my ideas on Figma. So, allow me to install the fantastic design tool Figma.
![]()
Missing Fonts?
In my designs, I use custom fonts, the majority of which are Google fonts. Instead of installing those fonts one by one, let’s use this easy command to install all of Google’s Web Fonts.
curl https://raw.githubusercontent.com/qrpike/Web-Font-Load/master/install.sh | bashTa-da
Done!
That will do for now to set up my development environment on a macOS.Happy Coding!
